Overview
This project will utilize the Nessus vulnerability scanning tool. A Windows 10 system is used in the scans and with a deprecated application installed. Both credential and non credential scans were done to showcase vulnerability management concepts. Vulnerabilities will then be patched up and a new scan will be done to exhibit the patched system.
**Special Thanks to Josh Madakor on YouTube for the tutorial.
Steps
Configuring VM for credential scans
Installing a deprecated Firefox on our VM
Inspect scan results after installing deprecated Firefox
Remediating some vulnerabilities
Requirements:
- VMware Workstation
- Windows 10
- Nessus Essentials
Download Requirements:
- https://www.vmware.com/products/workstation-player/workstation-player-evaluation.html
- https://www.microsoft.com/en-us/software-download/windows10
- https://www.tenable.com/products/nessus/nessus-essentials
Install Windows 10 ISO
Install the Windows 10 ISO on VMware and make sure that is internet connectivity.

Install Nessus
What is Nessus:
“Nessus is an open-source network vulnerability scanner that uses the Common Vulnerabilities and Exposures architecture for easy cross-linking between compliant security tools.”
Download the Nessus Essentials into your local machine.

New Scan
Let’s start a new scan on our Windows 10 machine. On the right hand on the site click on New Scan.

In this tutorial use choose the Basic Network Scan. There are multiple types of scans we can use in Nessus

In the New Scan / Basic Network Scan tab insert a name to identify your scan and insert the IP address of the Windows 10 ISO.

Launch the scan. The scan will take some time.

Inspecting the first scan
Once the scan is done click on the results and we are able to see the overview of the scan. The vulnerabilities are are ranked in order of importance.

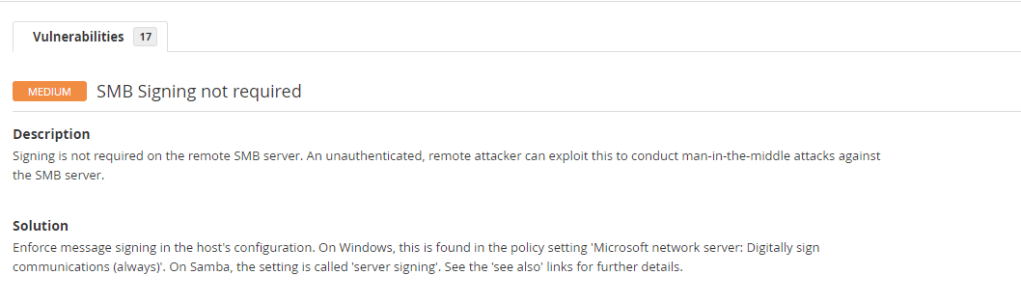
For this scan we are only able to see a single Medium vulnerability result.
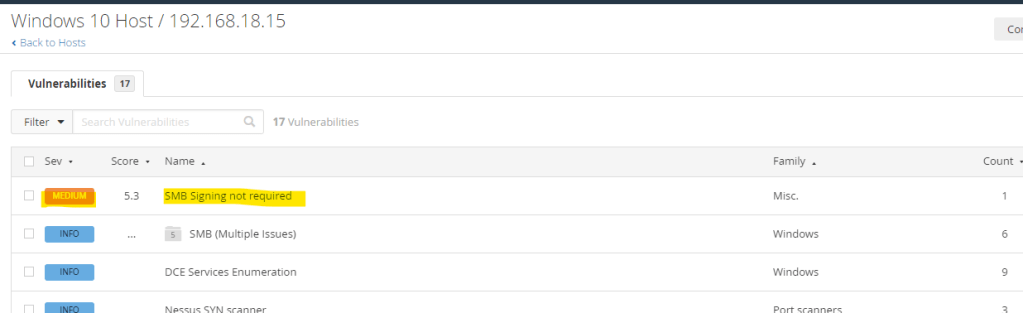
By clicking on the result we are able to view the Description and Solution.
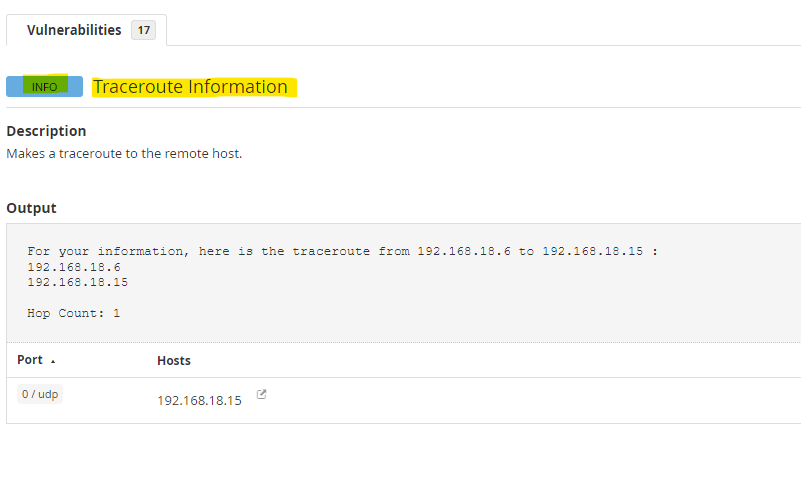
There are INFO sections that might gives us some overview of the machine. For example this machine can be ping or ICMP protocol can be used on it as we have a Traceroute result.
Configuring VM for credential scans
What is the difference between a credential and non-credential vulnerability scan:
“Credential-based vulnerability assessment, which make use of the admin account, do a more thorough check by looking for problems that cannot be seen from the network. On the other hand, non-credentialed scans provide a quick view of vulnerabilities by only looking at network services exposed by the host.”
From the previous scan we aren’t able to get much information as it is a non-credential scan. A credential scan is going to give us must more results and overview of the security of the machine. Let’s configure our windows 10 machine for a credential scan.
Head to the Services panel of the machine.
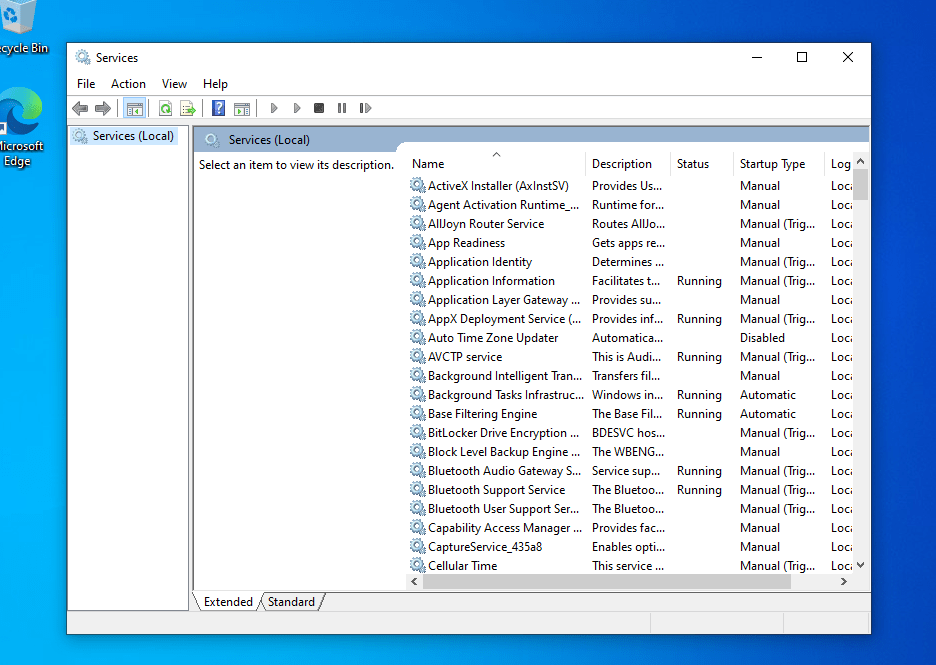
Look for Remote Registry service –> Right click on properties. This will enable our Nessus scanner to work directory in the register of our machine remotely.
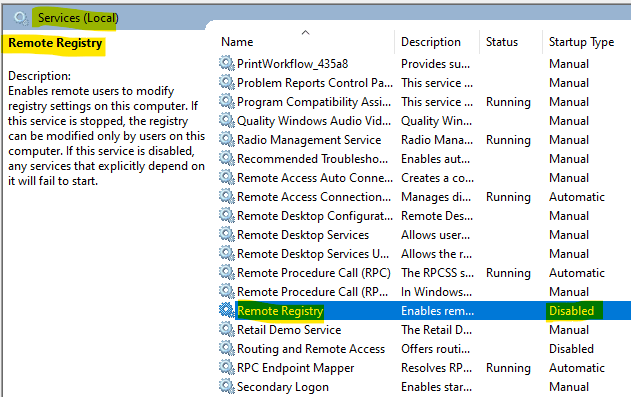
Enable the service by setting the Startup type to Automatic.

Next head to the User Account Control Settings and set to Never notify. This will prevent spamming notification when our machine is scanned by Nessus.

Then head to the Registry Editor.
“The Windows Registry is a hierarchical database that stores low-level settings for the Microsoft Windows operating system and for applications that opt to use the registry. The kernel, device drivers, services, Security Accounts Manager, and user interfaces can all use the registry.”
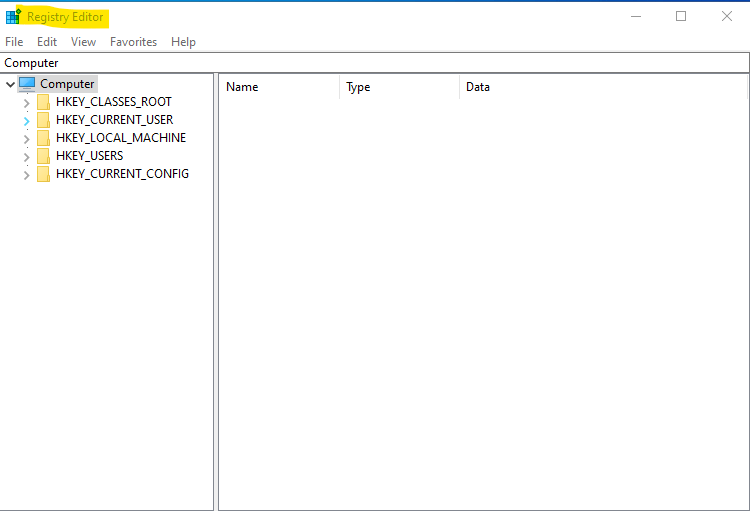
Head to the folder in this order:
- HKEY_LOCAL_MACHINE
- SOFTWARE
- Microsoft
- Windows
- CurrentVersion
- Polices
- System
Right click and create a new DWORD.
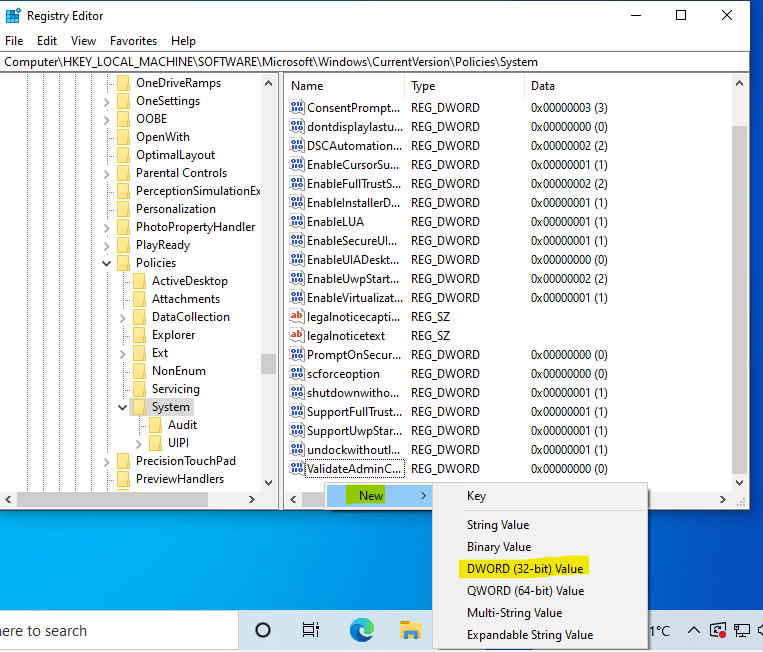
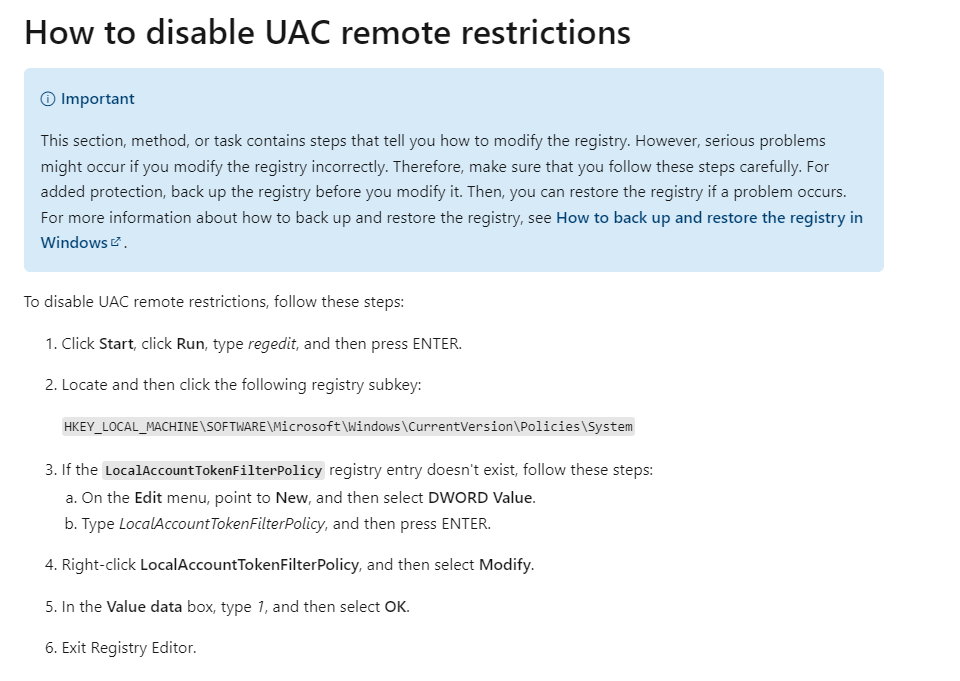
Create a DWORD with the name of LocalAccountTokenFilterPolicy and change the value data to 1. This is disable UAC remote restrictions.

This will disable UAC remote restrictions which will help in our scan. More info has been taken from the Microsoft official website below.
First scan with credentials
Head to the configure menu to set a credential scan.

In the Configuration menu select Windows and input the Username and Password for the machine.

Now run the scan again.

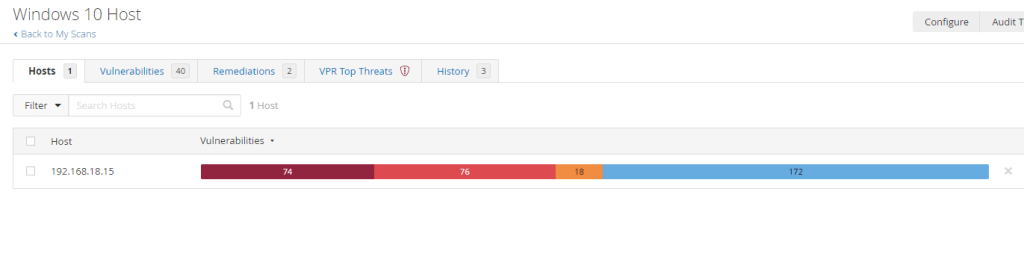
With the credentials scan we are able to see more Critical and High vulnerabilities.

In the vulnerabilities tab there are Mixed tabs that has multiple vulnerabilities in them.

We are able to view these vulnerabilities description and solution.
In this scan there are a number of High vulnerabilities. This could indicate outdated or unpatched services.

In Nessus scan results, VPR Top Threats represent a scan’s top 10 vulnerabilities with the highest VPR scores

Installing a deprecated Firefox on our VM
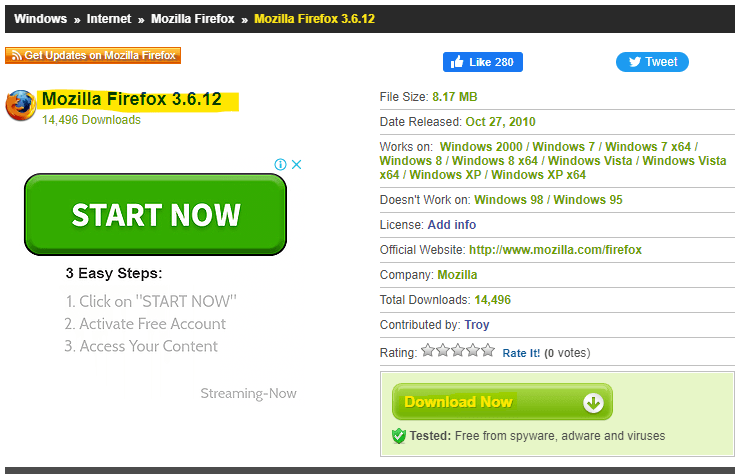
Now let’s install an outdated version of an application to see the results on the scan.
Head to http://www.oldversion.com/windows/mozilla-firefox-3-6-12 and download an old version Mozilla Firefox.

Inspect scan results after installing deprecated Firefox
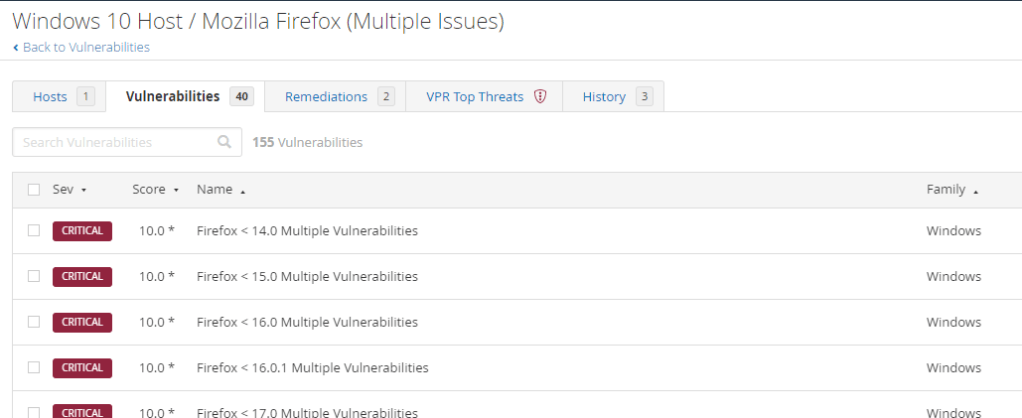
Once downloaded let’s scan the machine again which has the newly installed deprecated Firefox. As we aspect there are a lot more vulnerabilities available this time.
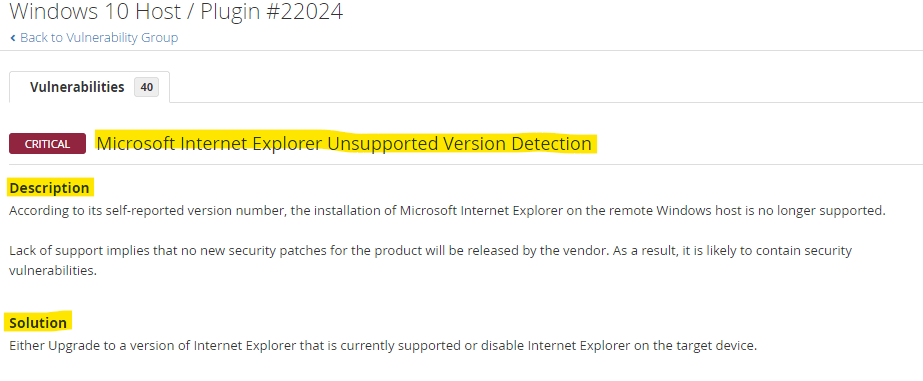
Since this version of Firefox is deprecated there are loads of vulnerability issues available.
In the remediations section of the scan, Nessus will provide some instructions.

The outdated Firefox is considered as VPR Top Threat for Nessus.

Remediating some vulnerabilities
Now that we have an overview of the vulnerable machines. Let’s do some remediation. First let’s uninstall the deprecated Firefox application.

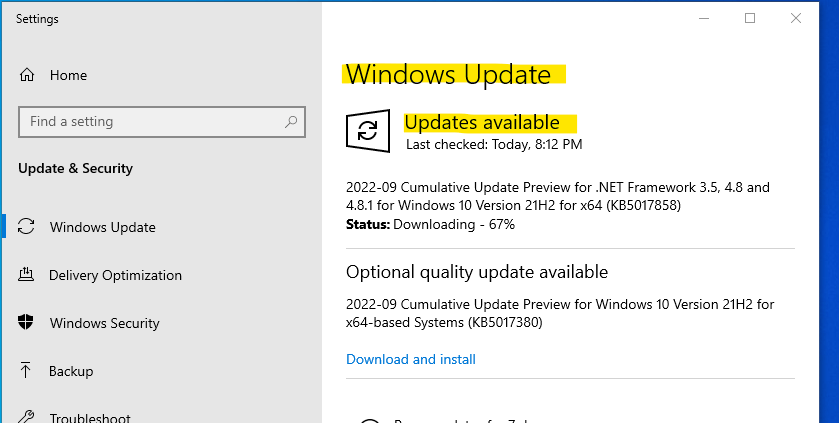
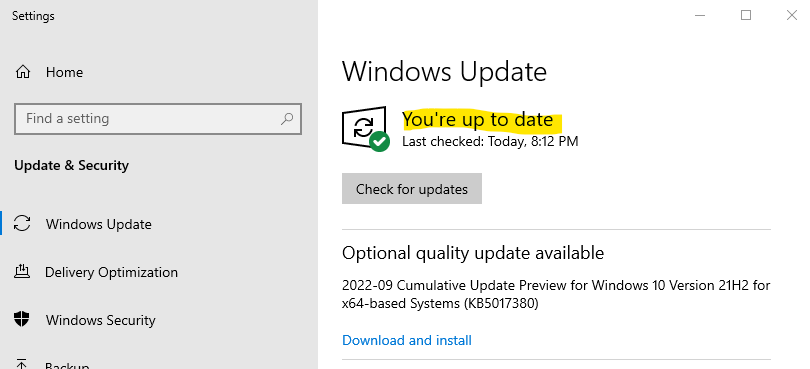
Then head to Windows Update and update the system.
Inspect scan results after remediating some vulnerabilities
After remediating the vulnerabilities we are able to see a much low level of critical vulnerabilities.
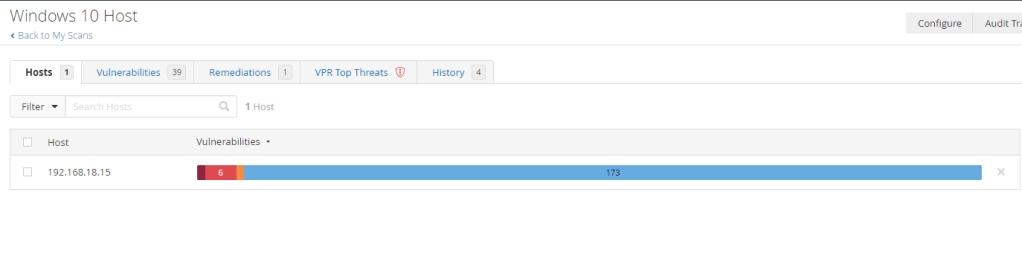
The critical Firefox vulnerability are gone.

Observations
From the multiple scan results with Nessus we can see how different types of scans (credential vs non-credential) and installing and patching known vulnerabilities are able to give us an overview of the system.
The first non-credential scan exhibits very few high or critical vulnerabilities.

Once credential scan is activated we are able to get a deeper diver in the system.

We installed vulnerable applications to examine the results provided by Nessus.

In other to view our understanding of vulnerability management we patch up the service and rescan the system to find a much more secured system.

